Ingredients
- Flour: 3 cups (approx. 400g) all-purpose or bread flour
- Yeast: 1 teaspoon active dry yeast or instant yeast
- Salt: 1 ½ teaspoons
- Water: 1 ½ cups warm water (not boiling)
- Optional: 1 tablespoon honey or sugar (to help with browning)
Instructions
1. Prepare the Dough
- In a large bowl, whisk together the flour, yeast, and salt.
- Add the warm water and stir with a wooden spoon or spatula until a shaggy, sticky dough forms and no dry flour remains. Do not knead it.
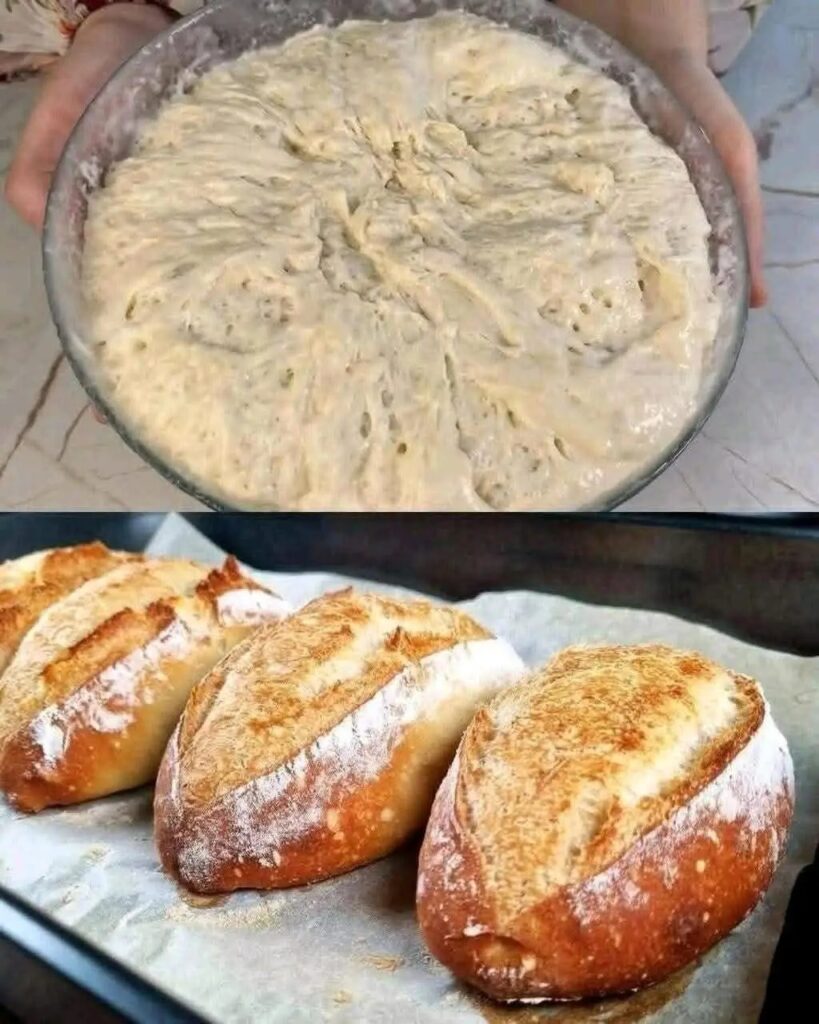
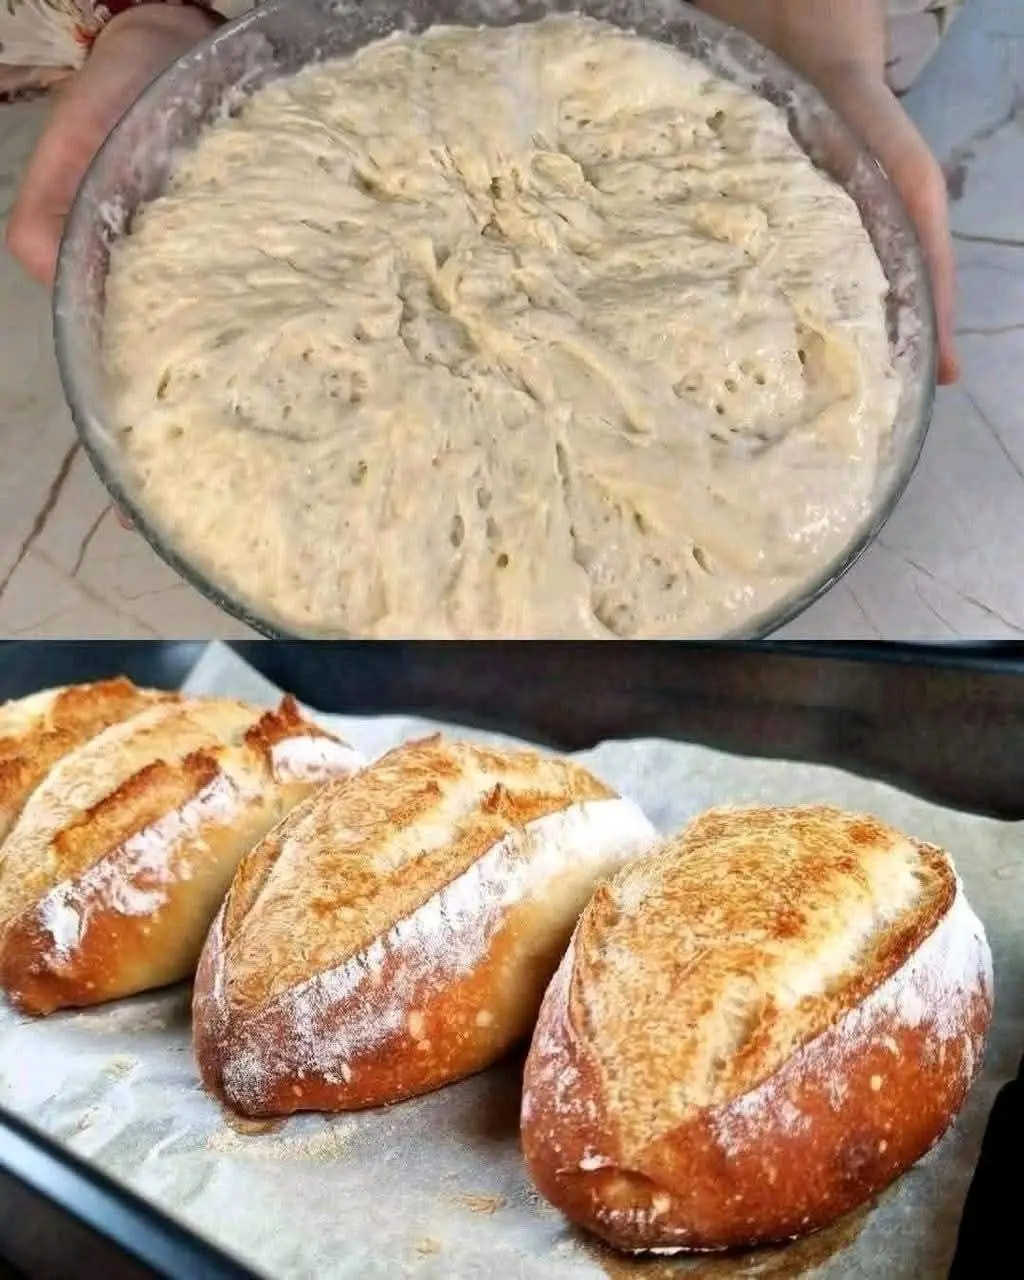
- Cover the bowl with plastic wrap or a damp cloth. Let it rest at room temperature for at least 2 to 3 hours until it doubles in size and looks bubbly (as seen in the top image).
2. Shape the Loaves
- Turn the dough out onto a well-floured surface. It will be very sticky, so use plenty of flour on your hands.
- Gently fold the dough over itself a few times. Divide it into 2 or 3 equal pieces.
- Shape each piece into an oval (batard) or round loaf. Place them on a baking sheet lined with parchment paper.
- Cover and let them rise again for about 30–45 minutes.
3. Score and Bake
- Preheat your oven to 450°F (230°C).
- Just before baking, use a sharp knife or razor to make a deep slit (score) down the center of each loaf. This allows the bread to expand and creates that beautiful “ear” seen in the bottom image.
- Pro Tip: For a crispier crust, place a shallow pan of water on the bottom rack of the oven to create steam.
- Bake for 20–25 minutes or until the crust is deeply golden brown and the bread sounds hollow when tapped on the bottom.
4. Cool
- Transfer the bread to a wire rack and let it cool for at least 20 minutes before slicing. This prevents the inside from becoming gummy.
Key Success Factors
- High Hydration: The dough should be wet and sticky; this is what creates the large air bubbles.
- High Heat: A very hot oven is essential for the “oven spring” (the initial burst of rising).
- The Crust: If you have a Dutch oven, baking the dough inside it with the lid on for the first 15 minutes will produce even better results!