
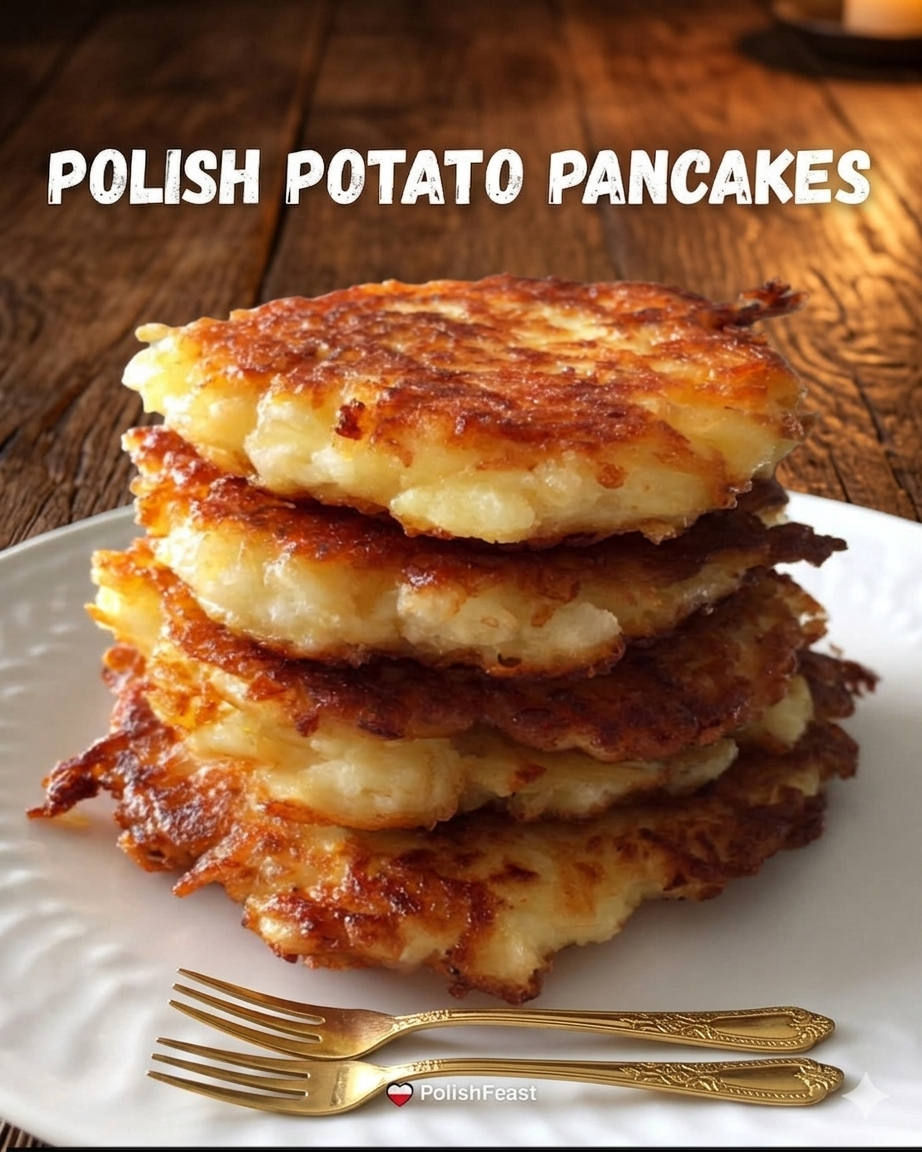
These iconic Polish pancakes are wonderfully crispy on the outside, soft and tender on the inside, and satisfy with a savory, comforting potato flavor. They are a staple of Polish comfort food.
The most important secret for crispiness: Grate the potatoes using the finest possible grate and properly drain the liquid.
Prep time: 15 minutes
Cook time: 20-25 minutes
Yields: 12-15 medium-sized pancakes (serves 3-4)
Ingredients
You only need a few basic kitchen staples to make perfect placki:
- 2 lbs (about 1kg) large, starchy potatoes (Russet or similar)
- 1 medium yellow onion
- 2 tablespoons all-purpose flour
- 1 large egg
- 1 teaspoon salt
- ½ teaspoon fresh ground black pepper
- For Frying: About 1 cup of neutral oil (vegetable, canola, or grapeseed) with a high smoke point
- Optional for serving: Sour cream, applesauce, a dusting of sugar (the sweet way!), or chopped chives.
Equipment
- A fine-hole grater (or a food processor with the fine grating attachment)
- A large bowl
- A fine-mesh sieve or a clean kitchen towel
- A large skillet or frying pan (cast iron is excellent for this)
- A spatula
Step-by-Step Instructions
Step 1: Prep the Veggies
- Peel and Grate Potatoes: Peel the potatoes. Using the finest side of your grater (the one with the small, prickly holes), grate all the potatoes into a large bowl. You want a very fine, almost-pasty pulp.
- Alternative: If using a food processor, use the finest grating disc.
- Grate the Onion: Grate the whole onion on the same fine grater directly into the bowl with the potato pulp. The onion juice helps slow down the potato oxidation (browning).
Step 2: Extract the Juice (Crucial Step!)
This step is the key to that stacked, crispy texture.
- Transfer to Sieve/Towel: Place the grated potato and onion mixture into a large, fine-mesh sieve set over a separate bowl, or place it into a clean kitchen towel.
- Squeeze Aggressively: If using a sieve, push down hard on the pulp with the back of a large spoon or ladle to press out as much liquid as possible. If using a kitchen towel, gather the corners, twist the top tightly, and squeeze with all your strength until no more liquid comes out. You want the pulp to be as dry as possible.
- Recover the Starch: Do not throw away the potato liquid! Let the bowl with the squeezed-out liquid sit undisturbed for about 5 minutes. The potato starch will settle to the bottom. Carefully pour off the clear liquid from the top, leaving the white, sticky potato starch at the bottom.
Step 3: Mix the Batter
- Combine Ingredients: Scrape the dry potato-onion pulp back into the bowl with the recovered potato starch. Add the egg, flour, salt, and black pepper.
- Fold and Mix: Use a large spoon to thoroughly combine all the ingredients until you have a thick, cohesive batter. If the batter seems too runny, add one more teaspoon of flour, but avoid adding too much, as it will make the pancakes dense.
Step 4: Fry to Perfection
- Heat the Oil: In a large, heavy-bottomed skillet, add enough neutral oil to cover the bottom of the pan to a depth of about ⅛ inch. Heat over medium-high heat until the oil is shimmering and a tiny bit of batter immediately sizzles when dropped in.
- Form the Pancakes: For each pancake, spoon about ¼ cup of batter into the hot oil. Immediately spread the batter with the back of the spoon to create a round pancake, about 3-4 inches wide and less than ½ inch thick. Work in batches to avoid overcrowding the pan; leave space between pancakes for the steam to escape.
- Fry until Golden: Fry each pancake for 3-5 minutes on the first side. Adjust the heat as needed so the outside doesn’t burn before the inside is cooked. The edges should become very crispy and dark golden brown.
- Flip and Repeat: Once the bottom is golden, carefully flip the pancakes. Fry for another 2-4 minutes until the second side is equally golden and the entire pancake is firm to the touch. The center should be set, not gooey.
- Drain: Remove the finished pancakes from the pan and place them in a single layer on a plate lined with paper towels to drain the excess oil.
Step 5: Keep Warm and Serve
- To keep warm: Place the drained pancakes in a single layer on a wire rack on a baking sheet in a 200°F (95°C) oven.
- To Serve: Stack the beautiful, golden placki on a plate, as seen in the image. Serve immediately, while hot and extremely crispy.
- The Savory Way: Top with a dollop of cold sour cream and chopped chives.
- The Classic Way: Serve with warm applesauce on the side.
- The Sweet Way (for children and traditionalists): Dust lightly with granulated or powdered sugar.
Tips for Success
- Oxidation (Browning) is Normal: Grated potatoes will brown quickly. While the onion helps, some browning is expected and won’t affect the final flavor. Work efficiently through Step 2 to minimize it.
- Consistency Check: A good batter is thick. If your first pancake seems too soft, your mix might still be too wet. Try squeezing any future batches harder or add a little more starch/flour to the current batter.
- Don’t Overcrowd: Frying too many at once cools the oil down, resulting in soggy, greasy pancakes.
Enjoy your beautiful, crispy Polish potato pancakes!
